In this tutorial, I’m going to show you how to do a Russian Join for knitting and crochet projects. You can follow along with my written instructions or watch the video.
Russian Join Overview
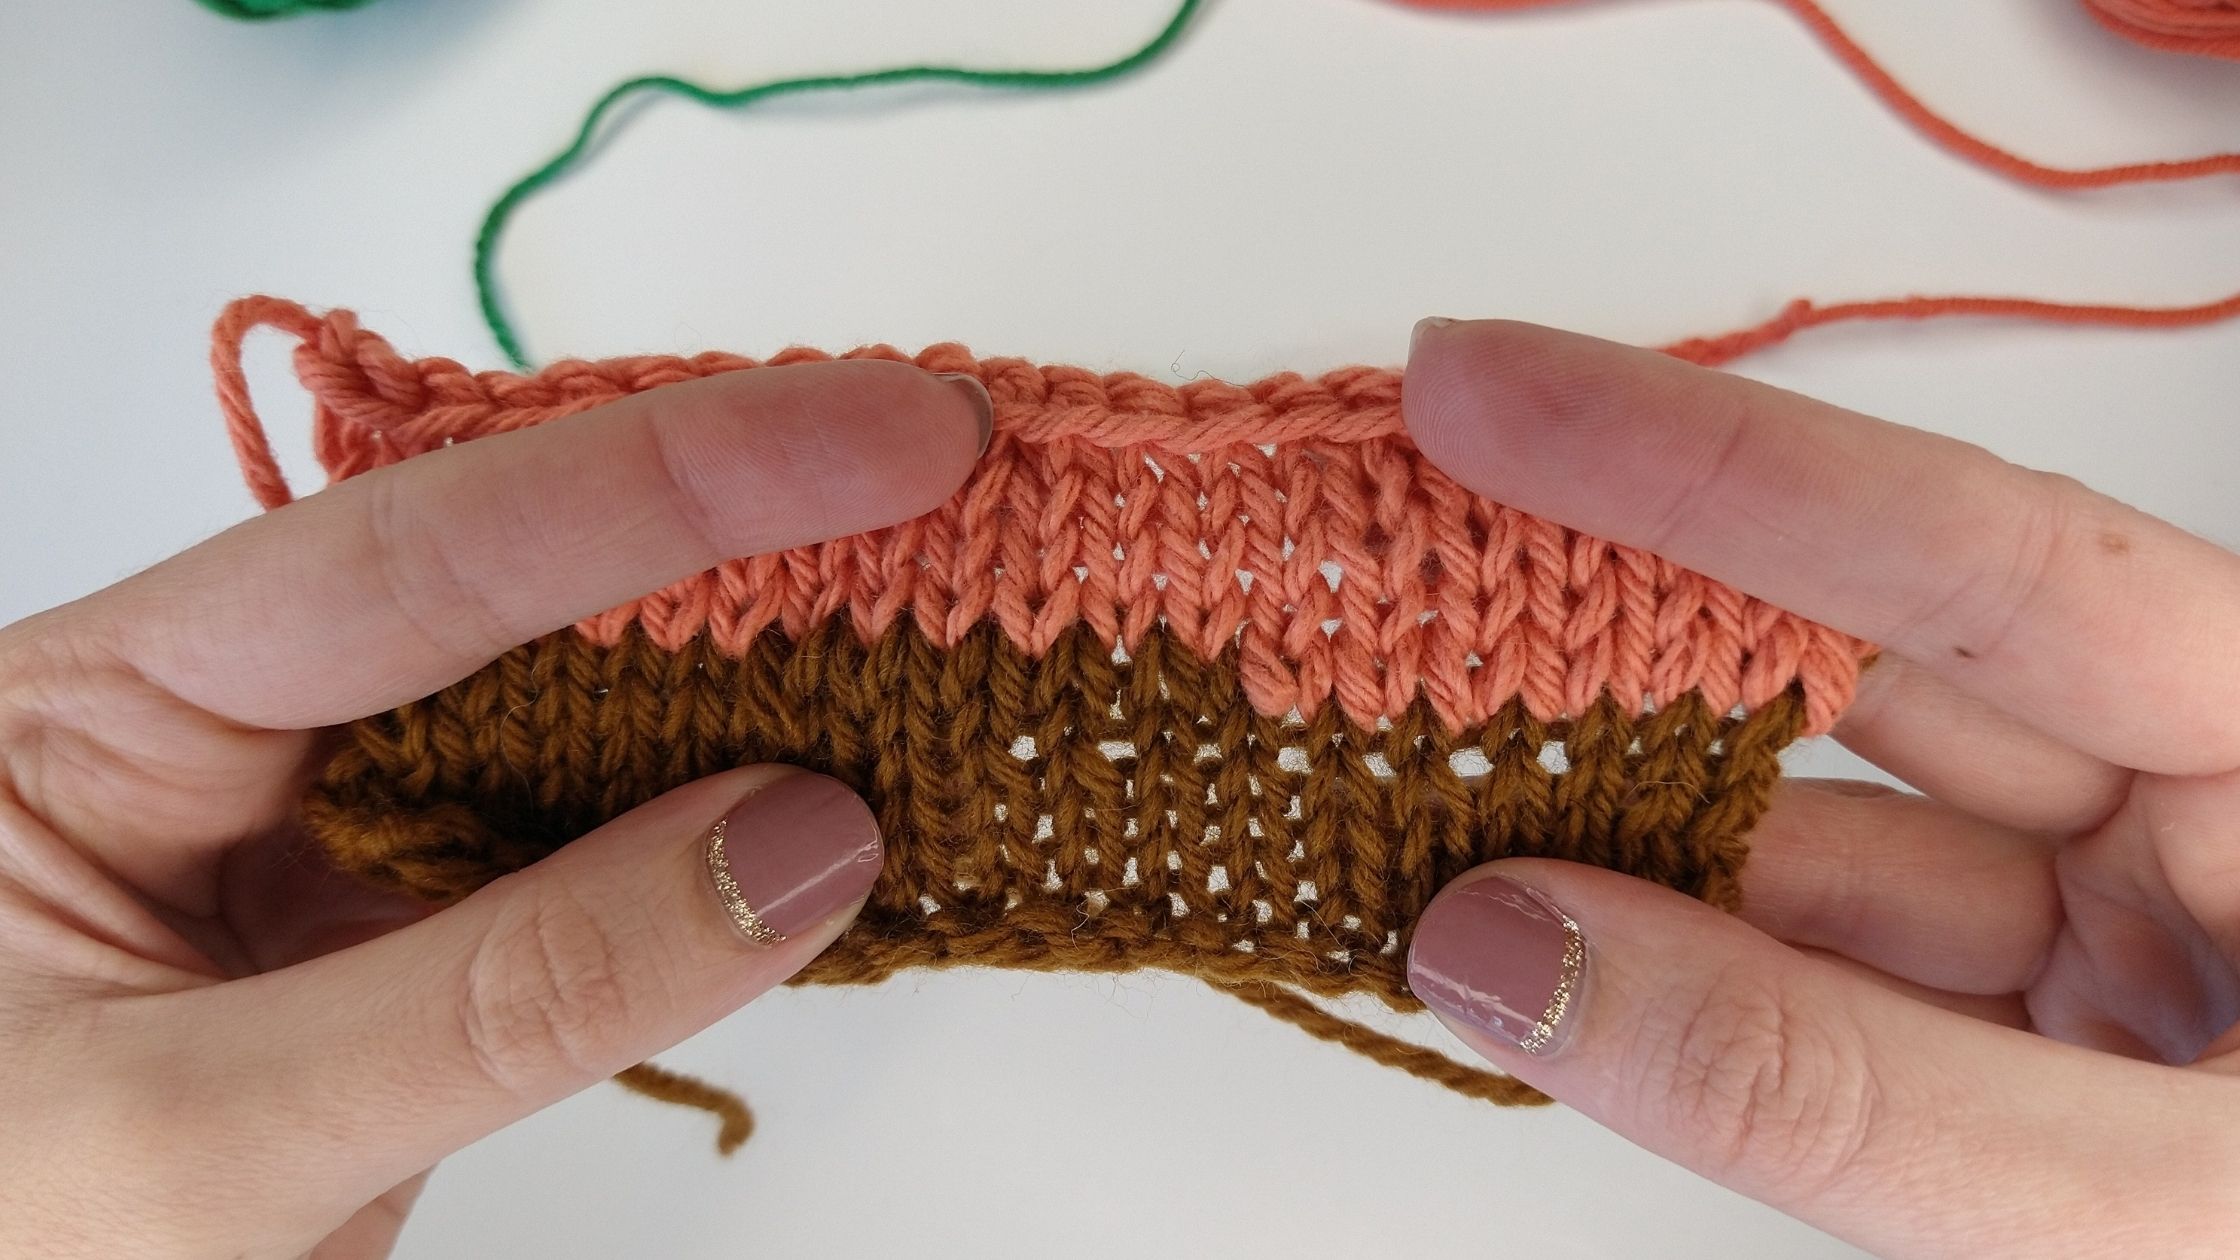
The Russian Join creates a join between your two yarns that is nearly impossible to see. In my example, I have two yarns that are different colors so that you can see where the join is happening. You can see that it’s difficult to tell where the brown yarn ends and the peach yarn begins, except for that change in color.

When to Use It
The Russian Join for knitting is really good for joining two yarns of the same color together for projects like sweaters, shawls, or scarves. The Russian Join is not a good method if you are doing colorwork and you need to join the new color at a very specific point in the pattern. If you do not care when a new color is brought into the piece (I use a Russian Join on scrap blankets that I create), then this technique will work for you. This join is also best worked on yarns that are uniform and with multiple plies. It will not work well on single ply yarns or art/novelty yarns.

What You Need
The supplies you will need to complete this join are the two yarns you will be joining together (I will be using two different colors to make it easier for you to see what I am doing), a darning needle, and an optional pair of scissors.
The Steps

Step 1
Take a tail from both of your yarns and loop them around each other, leaving a decent length tail on each.

Step 2
Take the end of the first yarn and insert it into your darning needle.

Step 3
While the yarns are still looped together, you are going to hold the other yarn tight between your fingers and insert the darning needle between the plies of the first yarn. You want to insert it directly on the other side of the looped yarn you are holding tight. Do not pull the needle through.

Step 4
Continue to insert the needle between plies and placing them on the needle. You want to insert the needle back into the yarn fairly close to the last insertion point

Step 5
Once you have done step four 10 – 20 times (you should have a nice bunch formed on your darning needle), you can now pull the needle and yarn all the way through, making sure it is tight. When you pull the yarn through, make sure the other yarn is up against the initial insertion point.

Step 6
Gently start pulling the bunched up yarn out. You may need to gently comb over the yarn a couple times with your fingers to get any kinks out. When you are finished, you should have the tail of your first yarn completely intertwined with the strand of yarn leading to the skein or ball.

Step 7
Now, the goal with the Russian Join for knitting is to not have any tail hanging out when you are done, but this only comes with a lot of practice and developing an eye for how long to make your tail initially (I’m still not great at it). If you do have a tail left over, you can clean it up at this point.
Go ahead and bunch up a bit of the yarn again. Take the scissors and trim the tail of the yarn just a little bit up from the start of your bunched up yarn. Now, straighten out the yarn again over the top of the tail. If the tail is still sticking out a little bit, I wait until I’ve knitted it into my project and then trim it flush to my work.
Now repeat those steps with your second yarn! When you are done, you will have a finished Russian Join. You can then work your knitting like you never had to switch to another skein of yarn.
I hope you found this tutorial helpful. Don’t hesitate to leave me a comment with any questions. And be sure to check out my Primer Scarf Knitting Pattern for a free project to use this new technique and many more!
Leave A Comment